Employee Management
This video focuses on how to manage your employees with iClassPro’s Time Clock. Learn how to navigate the employees tab and adjust employee time if needed.
This video focuses on how to manage your employees with iClassPro’s Time Clock. Learn how to navigate the employees tab and adjust employee time if needed. This video focuses on how to manage your employees with iClassPro’s Time Clock. Learn how to navigate the employees tab and adjust employee time if needed.
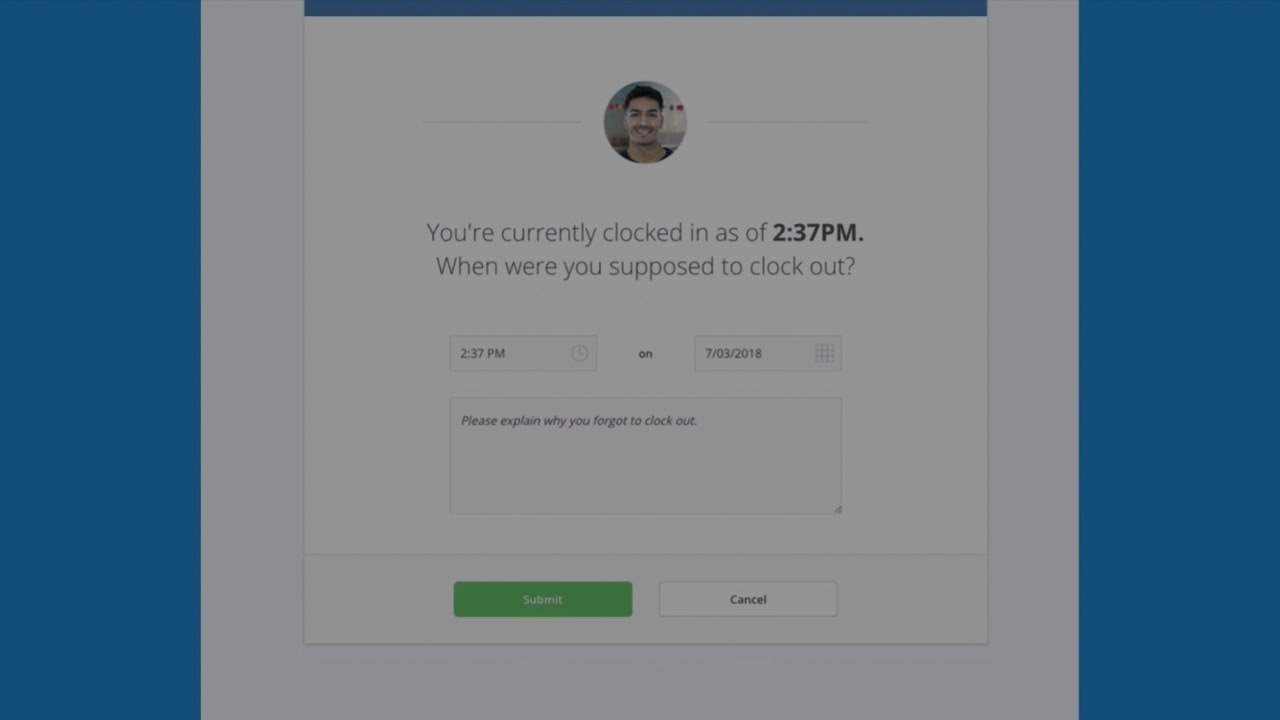
This video will walk through the adjustments tab in iClassPro. Learn time adjustments work from both the employees point of view and from the administration side. This video will walk through the adjustments tab in iClassPro. Learn time adjustments work from both the employees point of view and from the administration side.
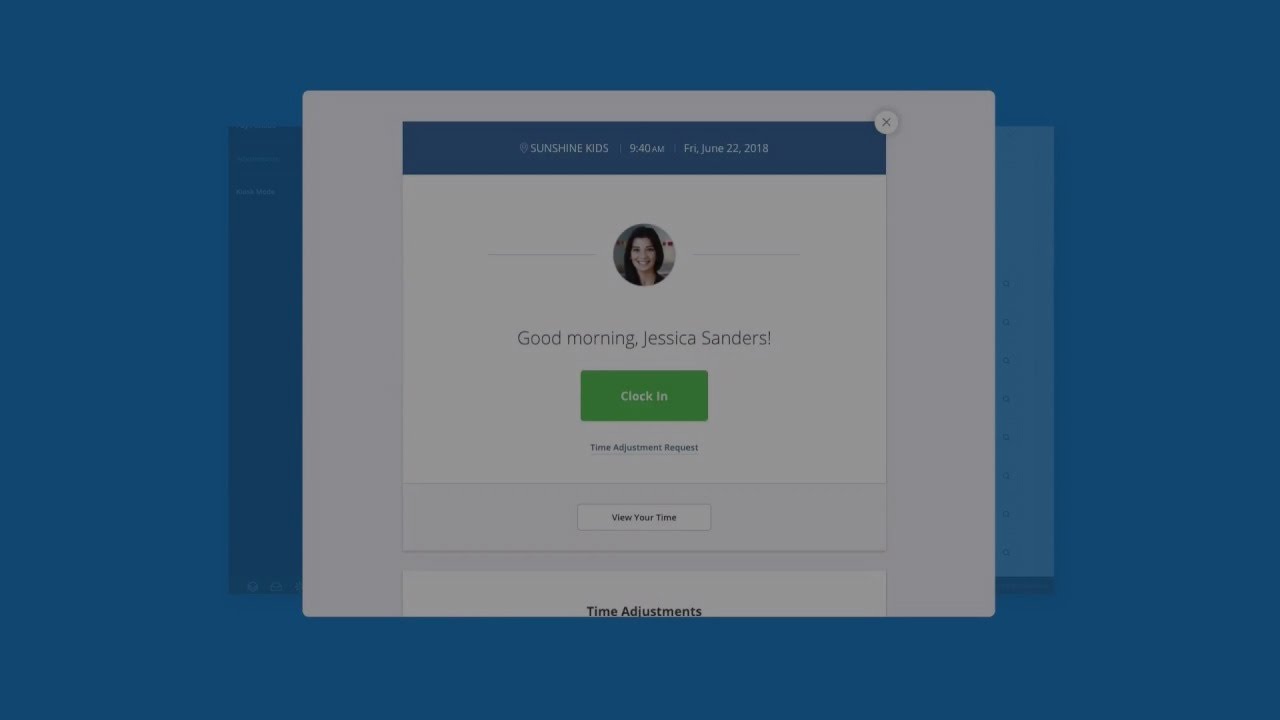
This lesson explains the purpose and functionality of Time Clock’s Kiosk Mode. With Kiosk Mode, employees can clock in and out as well as make time adjustment requests if needed. This lesson explains the purpose and functionality of Time Clock’s Kiosk Mode. With Kiosk Mode, employees can clock in and out as well as make time adjustment requests if needed.
This lesson walks through how to use Time Clock to review employee time, lock pay periods, and export Time Clock data to ADP, QuickBooks, and Excel. This lesson walks through how to use Time Clock to review employee time, lock pay periods, and export Time Clock data to ADP, QuickBooks, and Excel.
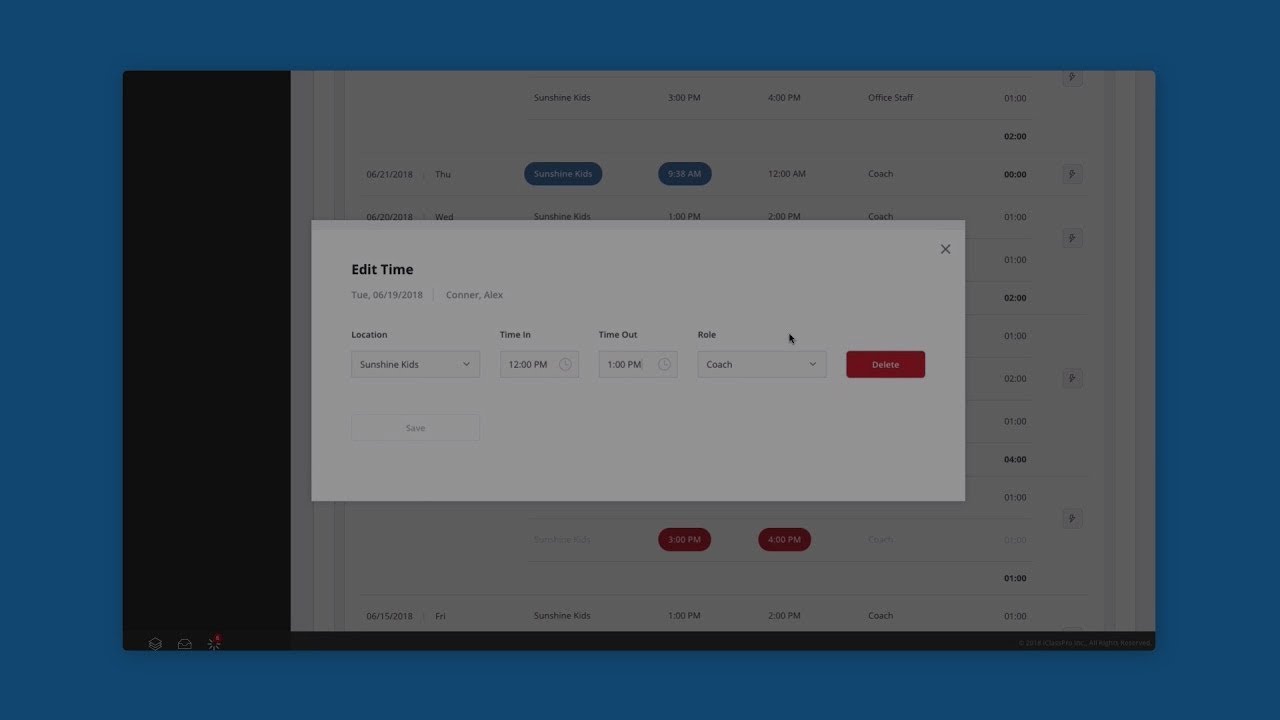
This video focuses on how to manage your employees with iClassPro’s Time Clock. Learn how to navigate the employees tab and adjust employee time if needed.
This video will walk through the adjustments tab in iClassPro. Learn time adjustments work from both the employees point of view and from the administration side.
This lesson explains the purpose and functionality of Time Clock’s Kiosk Mode. With Kiosk Mode, employees can clock in and out as well as make time adjustment requests if needed.
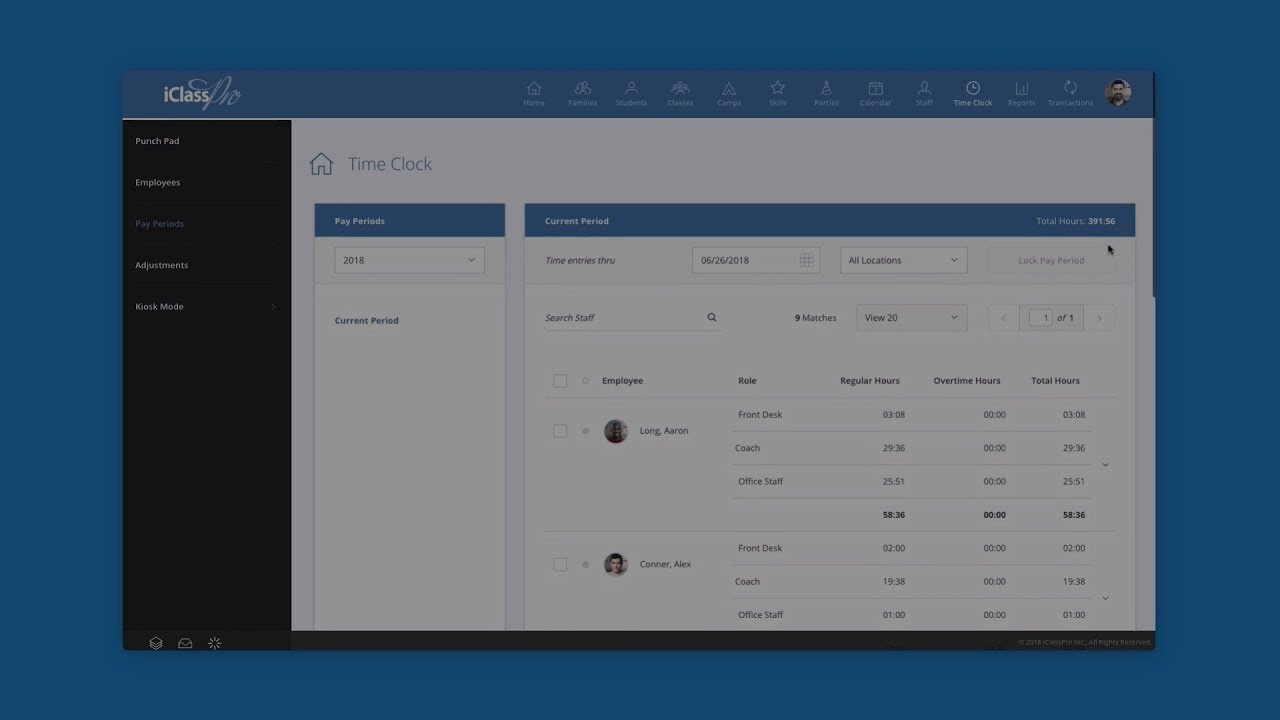
This lesson walks through how to use Time Clock to review employee time, lock pay periods, and export Time Clock data to ADP, QuickBooks, and Excel.